
Post-Processing Secrets: How to Edit Interior Photos for Maximum Impact
The Importance of Post-Processing in Interior Photography
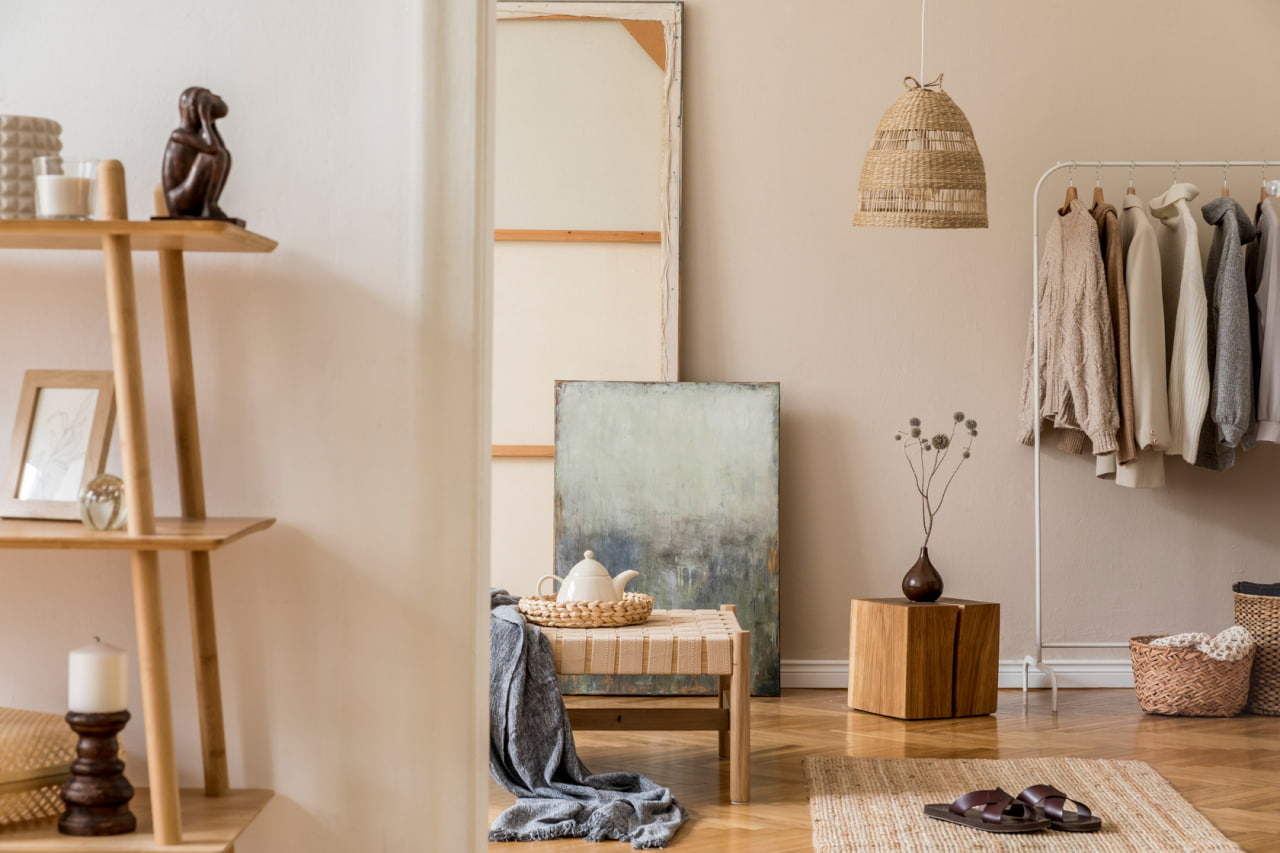
Post-processing is a vital step in interior photography that transforms raw images into polished works of art. While capturing a well-composed, well-lit photo is crucial, editing allows photographers to enhance colors, correct imperfections, and bring out the best in every detail. Mastering editing techniques ensures your images convey the true atmosphere and style of the space, making them more appealing to clients, designers, and viewers alike.
Starting with Raw Files for Maximum Flexibility
Shooting in RAW format is essential for interior photographers who want full control over their edits. RAW files contain all the data captured by the camera sensor, providing a wider dynamic range and greater detail in shadows and highlights compared to JPEGs. This flexibility allows you to adjust exposure, white balance, and contrast with minimal loss of quality, making it easier to fix lighting challenges common in interiors.
Correcting Exposure and White Balance
The first step in editing interior photos is often adjusting exposure and white balance. Interiors can have tricky lighting, with bright windows contrasting against darker corners. Use exposure adjustments to brighten shadowed areas without blowing out highlights. White balance correction ensures colors look natural and consistent, eliminating unwanted color casts caused by mixed lighting sources like daylight and tungsten bulbs. Accurate white balance is critical to representing the space authentically.
Enhancing Colors and Contrast
Vibrant yet realistic colors make interior photos stand out. Boosting saturation and vibrance can enhance the hues of furniture, fabrics, and décor, but it’s important to avoid oversaturation, which can make images look unnatural. Adjusting contrast improves the depth and dimension of the photo, helping textures and architectural features pop. Using tone curves and clarity sliders selectively can add punch without compromising softness or subtle details.
Straightening Lines and Correcting Perspective
Interior photos often suffer from distorted lines, especially when wide-angle lenses are used. Post-processing tools like lens correction and perspective adjustment help straighten vertical and horizontal lines, giving a professional, clean look. Correcting perspective distortion ensures walls, doors, and windows appear straight and true to life, which is essential for architectural integrity.
Removing Distractions and Imperfections
Small distractions such as clutter, cables, or blemishes on walls can detract from an otherwise perfect shot. Using cloning and healing tools in editing software allows photographers to remove these unwanted elements seamlessly. Cleaning up imperfections helps keep the focus on the design and flow of the space.
Sharpening Details for a Crisp Finish
Applying selective sharpening enhances textures like wood grain, fabric weaves, and tile patterns, adding a tactile quality to your photos. Over-sharpening should be avoided as it can introduce noise and artifacts, especially in low-light areas. The goal is to achieve a crisp, clear image that invites viewers to explore every detail.
Using Local Adjustments to Highlight Key Areas
Global edits affect the entire image, but local adjustments let you target specific areas to enhance selectively. For example, you might brighten a seating area to draw attention or increase saturation on artwork to make it pop. Dodging and burning techniques can add depth by lightening highlights and darkening shadows in strategic spots. These subtle touches guide the viewer’s eye and emphasize the room’s best features.
Final Touches: Cropping and Exporting
Cropping helps refine composition and remove any distracting edges, focusing attention on the main subject. When exporting images, choosing the right resolution and file format is important depending on where the photos will be used—whether online portfolios, print magazines, or real estate listings. Keeping a master file with all edits allows for easy future adjustments.